Branding
Custom branding for Appsmith is a feature that allows app builders to customize the appearance of their Appsmith workspace and apps with their own logo and color palette. This ensures that the end-users of the app have a more familiar and cohesive experience, with the login screen, invite emails, and error pages matching the branding of your company.
Configure branding
If you are using custom branding with Appsmith, setting it up is simple and straightforward. All you need to do is provide your own logo and branding assets, and Appsmith handles the rest.

To configure Appsmith to show your brand, follow these steps:
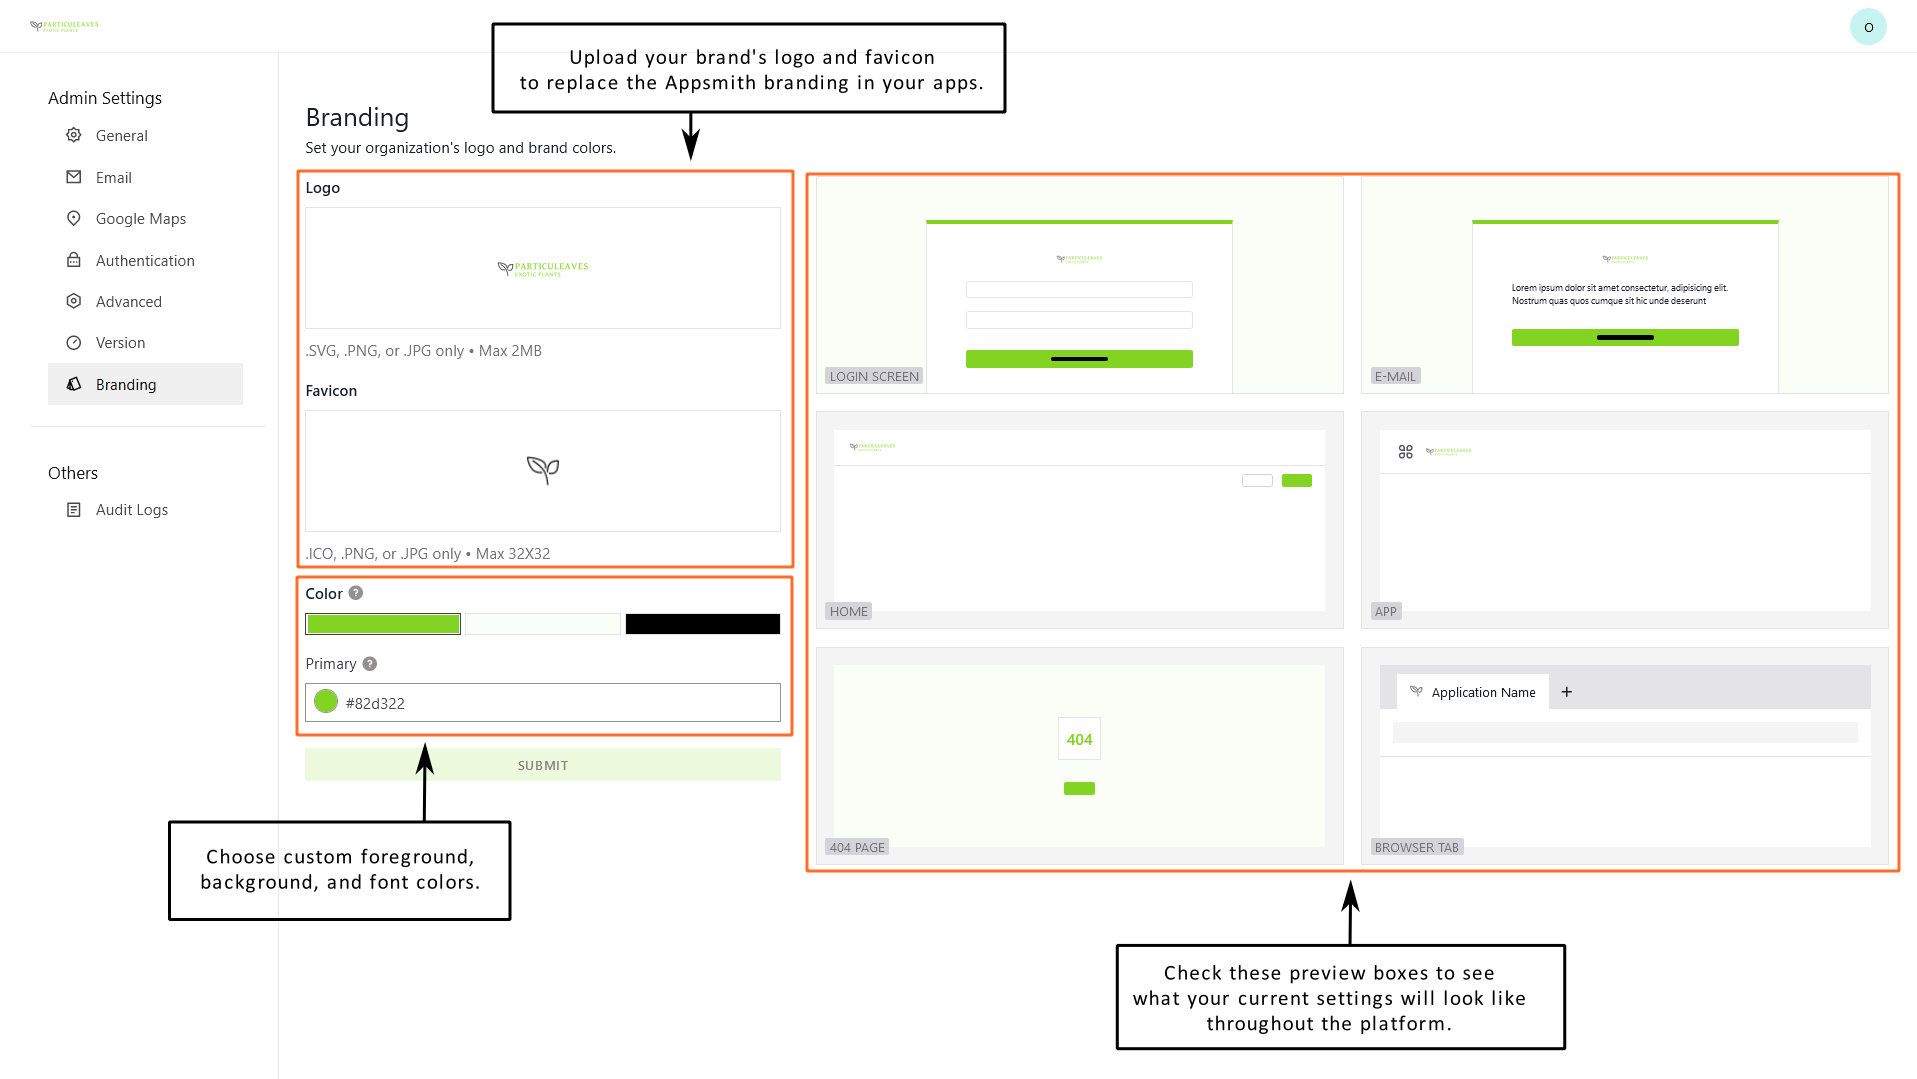
- From your Appsmith dashboard, navigate to the Admin Settings. You must have Administrator privileges to see access this area.
- Click on the Branding tab to open branding settings.
- To upload your logo, click in the Logo box and browse to select the image file you'd like to upload. Appsmith supports .svg, .png, and .jpg files up to 2 MB in size.
- To upload a favicon, click in the Favicon box and browse to select the file you'd like to upload. You may provide a file of type .ico, .png, or .jpg which shouldn't be larger than 32x32 pixels.
- To customize the colors in the Color section, click the bar for the color you want to change (primary, background, or font) and enter a hex code in the input box. You can also click the color preview circle to open the color-picker window.
Updating the Colors section makes your brand colors accessible while building apps. In the app's theme settings or a widget's style settings, your brand's colors are available as presets when using the color picker.
- Once you are satisfied with your changes and the previews look acceptable, click the SUBMIT button to save your changes. Your branding is now available throughout Appsmith.
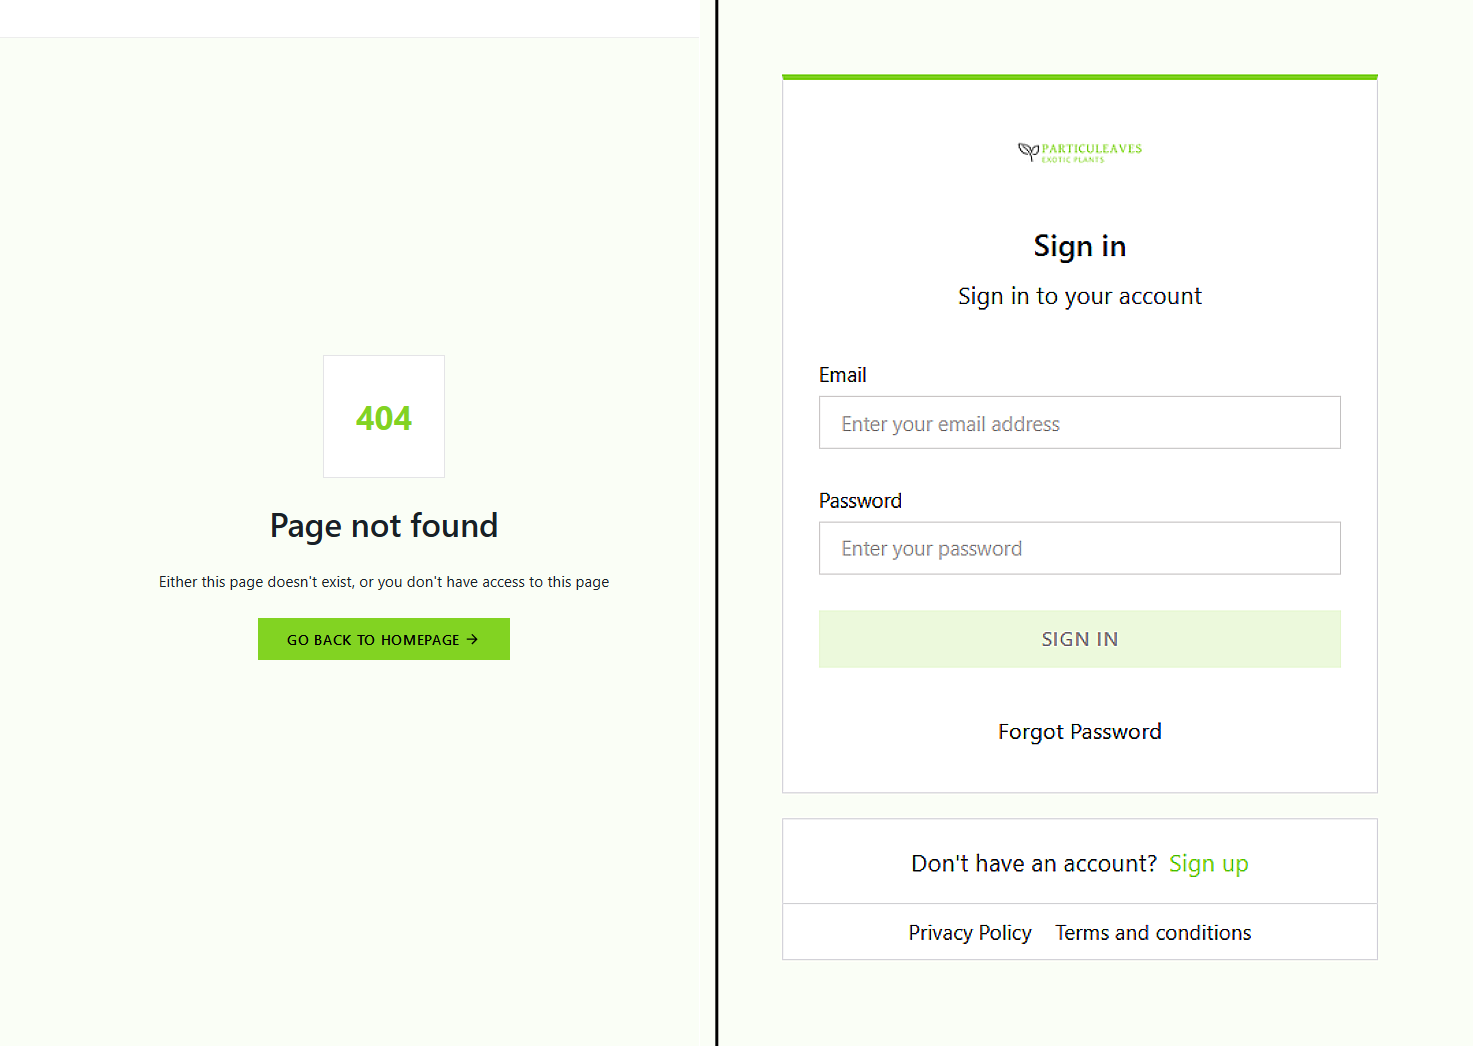
When you use custom branding with Appsmith, not only are the login screen and email templates customized to match your organization's branding, but other screens in your app or service are also affected.

